Sunday, December 3, 2017


Thursday, March 10, 2016
"Always Hungry?" Meal Plan - 3 months in.
Erik and I started the "Always Hungry?" meal plan February 1, 2015. We heard an author interview on Science Friday and purchased the book. To date, I have lost 6.9 pounds with a major reduction in exercising.

Exercise - When I am not scheduled for substitute teaching or on the road, I take a brisk 15 - 35 minute walk after breakfast and dinner. We try to run every other day. We are not running the 3-8 miles we used to run. Our workout (sit-ups, squats, t-stabilization, etc) has been few and far between. I am really enjoying the light workout loads.

Food Preparation - The first 3 weeks we followed the meal plans provided in the book. We had a couple major food receipts at Sam's Club and Wal-mart. Following the two huge shopping trips, the food bills are easier on the wallet, as we have purchased our initial pantry of oils, spices, and nuts.
Preparing the meals, snacks, and sauces is very time consuming. I enjoy making my own mayo & dressings. Three months into the plan, I have become more efficient at food prep. I can chop onions like a Food Network star.
Cooking - Cooking is designed so your main dish at suppertime becomes part of your lunch salad the following day. We enjoy many meals from the suggested recipes and have changed our eating habits and ways of selecting food.

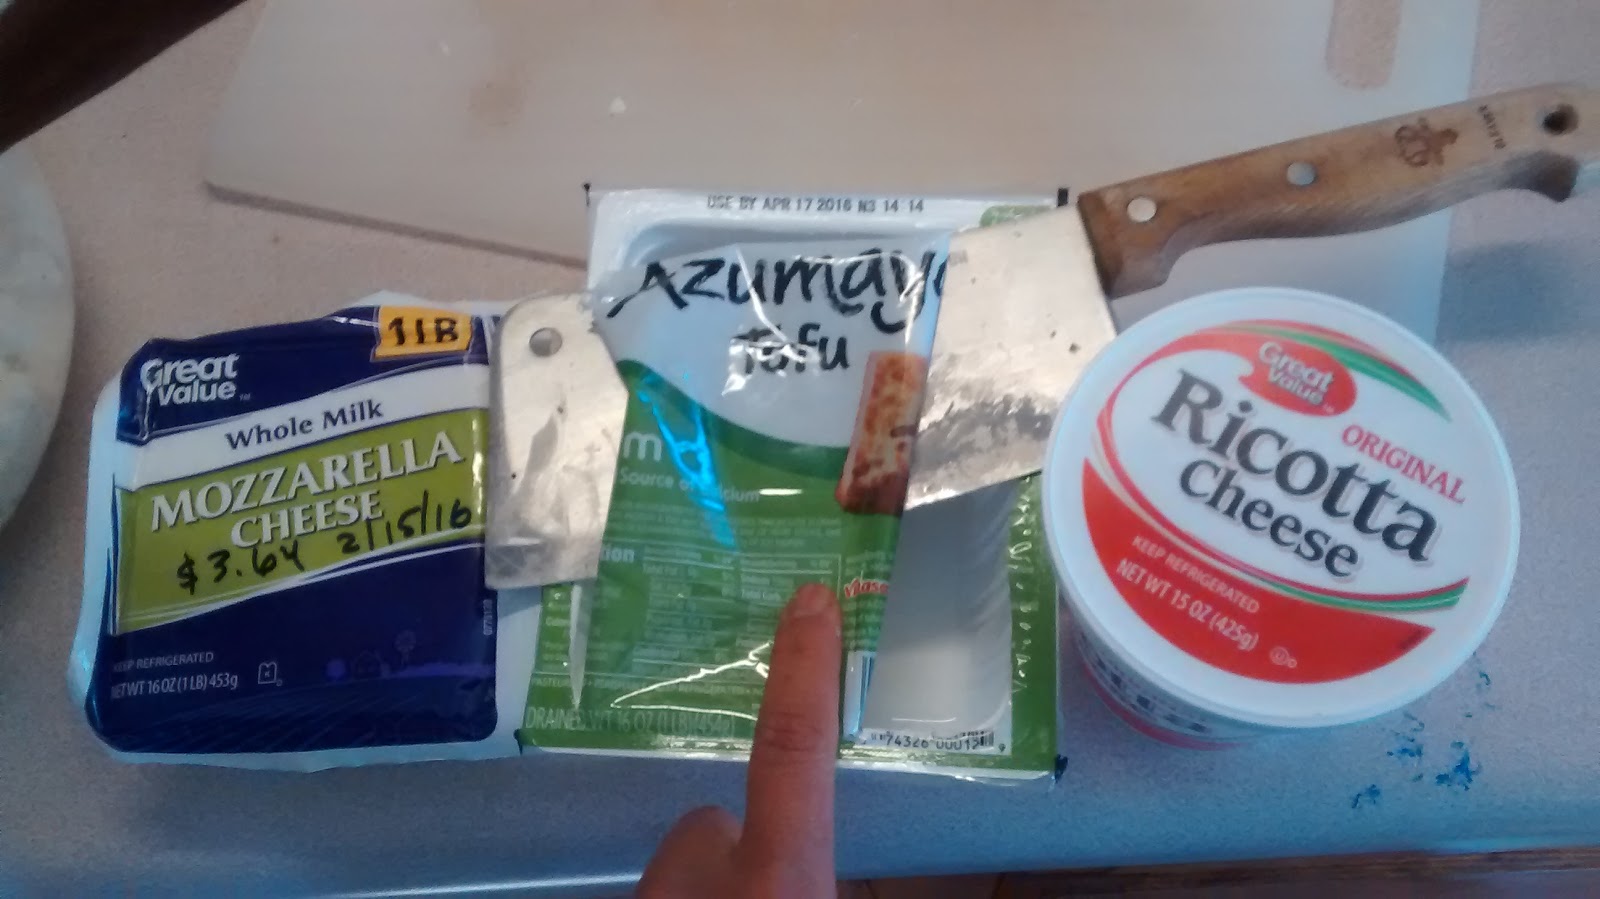
One of my favorite dishes - Eggplant Parmesan. We have tweaked the recipe to omit the tofu and added chicken breast to make up for the protein.

Ingredients include - Eggplant, squash, ricotta cheese, mozzarella cheese, shredded chicken, and other additions such as onions, mushrooms, bell peppers. I don't even miss the pasta in similar recipes.
The salads are yummy with many suggestions on combinations of protein, salad greens, and cheese topped with homemade dressings.
List of meals - Index to Planning Meals on "Always Hungry?"
I miss the bread and processed sugars. When I come across breads and sugars, I am more mindful to enjoy the meal/snack. Many times choosing not to partake in the meal/snack with bread and processed sugars. We don't eat out as much as we used to and not eating out adds extra money we can spend on better food at the stores.

Exercise - When I am not scheduled for substitute teaching or on the road, I take a brisk 15 - 35 minute walk after breakfast and dinner. We try to run every other day. We are not running the 3-8 miles we used to run. Our workout (sit-ups, squats, t-stabilization, etc) has been few and far between. I am really enjoying the light workout loads.

Food Preparation - The first 3 weeks we followed the meal plans provided in the book. We had a couple major food receipts at Sam's Club and Wal-mart. Following the two huge shopping trips, the food bills are easier on the wallet, as we have purchased our initial pantry of oils, spices, and nuts.
Preparing the meals, snacks, and sauces is very time consuming. I enjoy making my own mayo & dressings. Three months into the plan, I have become more efficient at food prep. I can chop onions like a Food Network star.
Cooking - Cooking is designed so your main dish at suppertime becomes part of your lunch salad the following day. We enjoy many meals from the suggested recipes and have changed our eating habits and ways of selecting food.
One of my favorite dishes - Eggplant Parmesan. We have tweaked the recipe to omit the tofu and added chicken breast to make up for the protein.

Ingredients include - Eggplant, squash, ricotta cheese, mozzarella cheese, shredded chicken, and other additions such as onions, mushrooms, bell peppers. I don't even miss the pasta in similar recipes.
The salads are yummy with many suggestions on combinations of protein, salad greens, and cheese topped with homemade dressings.
 |
| Mozzarella Chickpea Salad with Sardines. |
 |
| Erik doesn't mind taking two lunch bags to work. |
Thursday, March 3, 2016
Substitute Teaching
One year ago, the last quarter of the Spring 2015 (who knows how long people will be looking), I got back into the classroom as a substitute teacher. Whoa, what an experience. After 10 months of enjoying my life at home a part time job found me. A different routine in every classroom. Different expectations in every classroom. At least I am in the same building and only substitute at one school.

My substitute days start off the same. I walk into the school building's commons area around 7:45. I make sure to say "Good Morning" to the support staff. If I have a problem during the day, most likely, the first person I encounter is support staff. They will be my resource and often will help me above and beyond what I need to get sorted out. One morning, I even got a piece of banana bread delivered to me by the support staff. Mostly snacks to get me through they day and to do my workout in the evening: cinnamon rolls from breakfast, bag of lefter over popcorn from last nights game. Support staff make every school function smoothly or not.
After my "good mornings," I then check in with the school secretary to fill our paperwork and get my classroom assignments.
First priority, learn the students names. When you are the substitute teacher, sometimes all you have is the ability to associate a face to a name. Unfortunately, the names you learn first are the students who are not on task.
My day would go a lot easier if more teachers left an attendance sheet or book out for me to reference. Some teachers print off seating charts with students pictures, these are great. I usually don't have access to the computerized attendance program, but some substitutes do. Those that do may bring along their own laptop or iPad. I'd rather not use my personal devices on the school wifi or for school business. Although, sometimes I do text attendance to the school secretary and let her know if I am carrying my phone. Most of the time, I'll send a volunteer to take attendance to the office.
I enjoy the days I can pick up my book and read. These teachers have their classroom procedures down. Students already have a idea of what their task is going to be, many walk in and get busy. These classrooms run like clockwork because these teachers are there day in and day out or these teachers are frequently gone.
Other days I might be able to peruse a magazine. Short articles and looking at pictures is all the time I have. These students have to monitored to stay on task. They see the classroom teacher is not there and they think they have a day off. Students recognize "busy work" and adjust their behavior to it. Or students are asking for help. I've been subbing for about a year now and the students know they can ask me questions or I will tell them "I don't know, Google it." Since I have had my own classroom, I know to make mental notes on how much or little students are progressing on their task. My task is to make sure the substitute plans get accomplish, no matter how well the plans are written.
Some days, I get to teach. I might have had some heads up on the lesson plans or had a prep period to read the student material. These class periods go by quickly. I enjoy teaching, but teaching on the cuff is different. I am still surprised that high school teachers would expect a substitute to teach their content. I know if the teacher was there, they could bring the topic to life.
At the end of the day, I leave some notes about the how the class periods go. I don't know if my notes go unread or the teachers have some sort of follow through. But I will tell the teacher what happened during the day. Which classes I felt were well behaved. Which classes seemed like they wanted to goof off. I also leave a list of students who have left the classroom; I sign students in and out and have to remind them to tell me when they return to class. Just basic information about how my day went.
Teachers are busy, leaving their classroom for a day often takes as much time to prepare and time to catch up as being gone for the day.
Monday, January 25, 2016
After BrewDay
 |
| 5 gallons of an all grain IPA ready to be bottled. Weights @50 lbs, so I get my hubby to place the bottle on a step stool (you only see the legs) on the counter. |
In this post, you'll see pictures with captions describing the fermentation, bottling, and conditioning process.
*The pictures are not meant to describe each step of the process.
FERMENTATION. My brews condition in a glass carboy for 4 weeks, 2 weeks for primary fermentation and 2 weeks for secondary fermentation. Homebrewing allows me to determine what comes in contact with my beer. I chose glass and metal, not plastic (just have a plastic graduated cylinder as glass ones are pretty pricey). I might take a gravity reading during fermentation, to make sure the yeast is doing it's job. But only if I think something is wrong.
 |
| To stabilize the brews temperature, I use a crude thermal blanket made out of reflective insulation and packing bubble wrap. I top it off with an aluminum cake saver, it works. It also protects the brew from sunlight. |
 |
| I monitor the temperature of the brew by using a surface temperature attached to the glass carboy. Some brewers have an elaborate monitoring system. I monitor max and min temperatures on a daily basis and taper off towards bottling day. |
 | |||
Once primary and secondary fermentation is complete, as monitored by gravity readings. The brew is ready to be bottled. On bottling day, washing and sanitizing the bottles takes up most of my time. The bottles also take a lot of storage. Many homebrewers keg their beer. By doing so, kegging eliminates the bottling and priming procedure. I prefer to make investments in the ingredients, which means more beer.
|

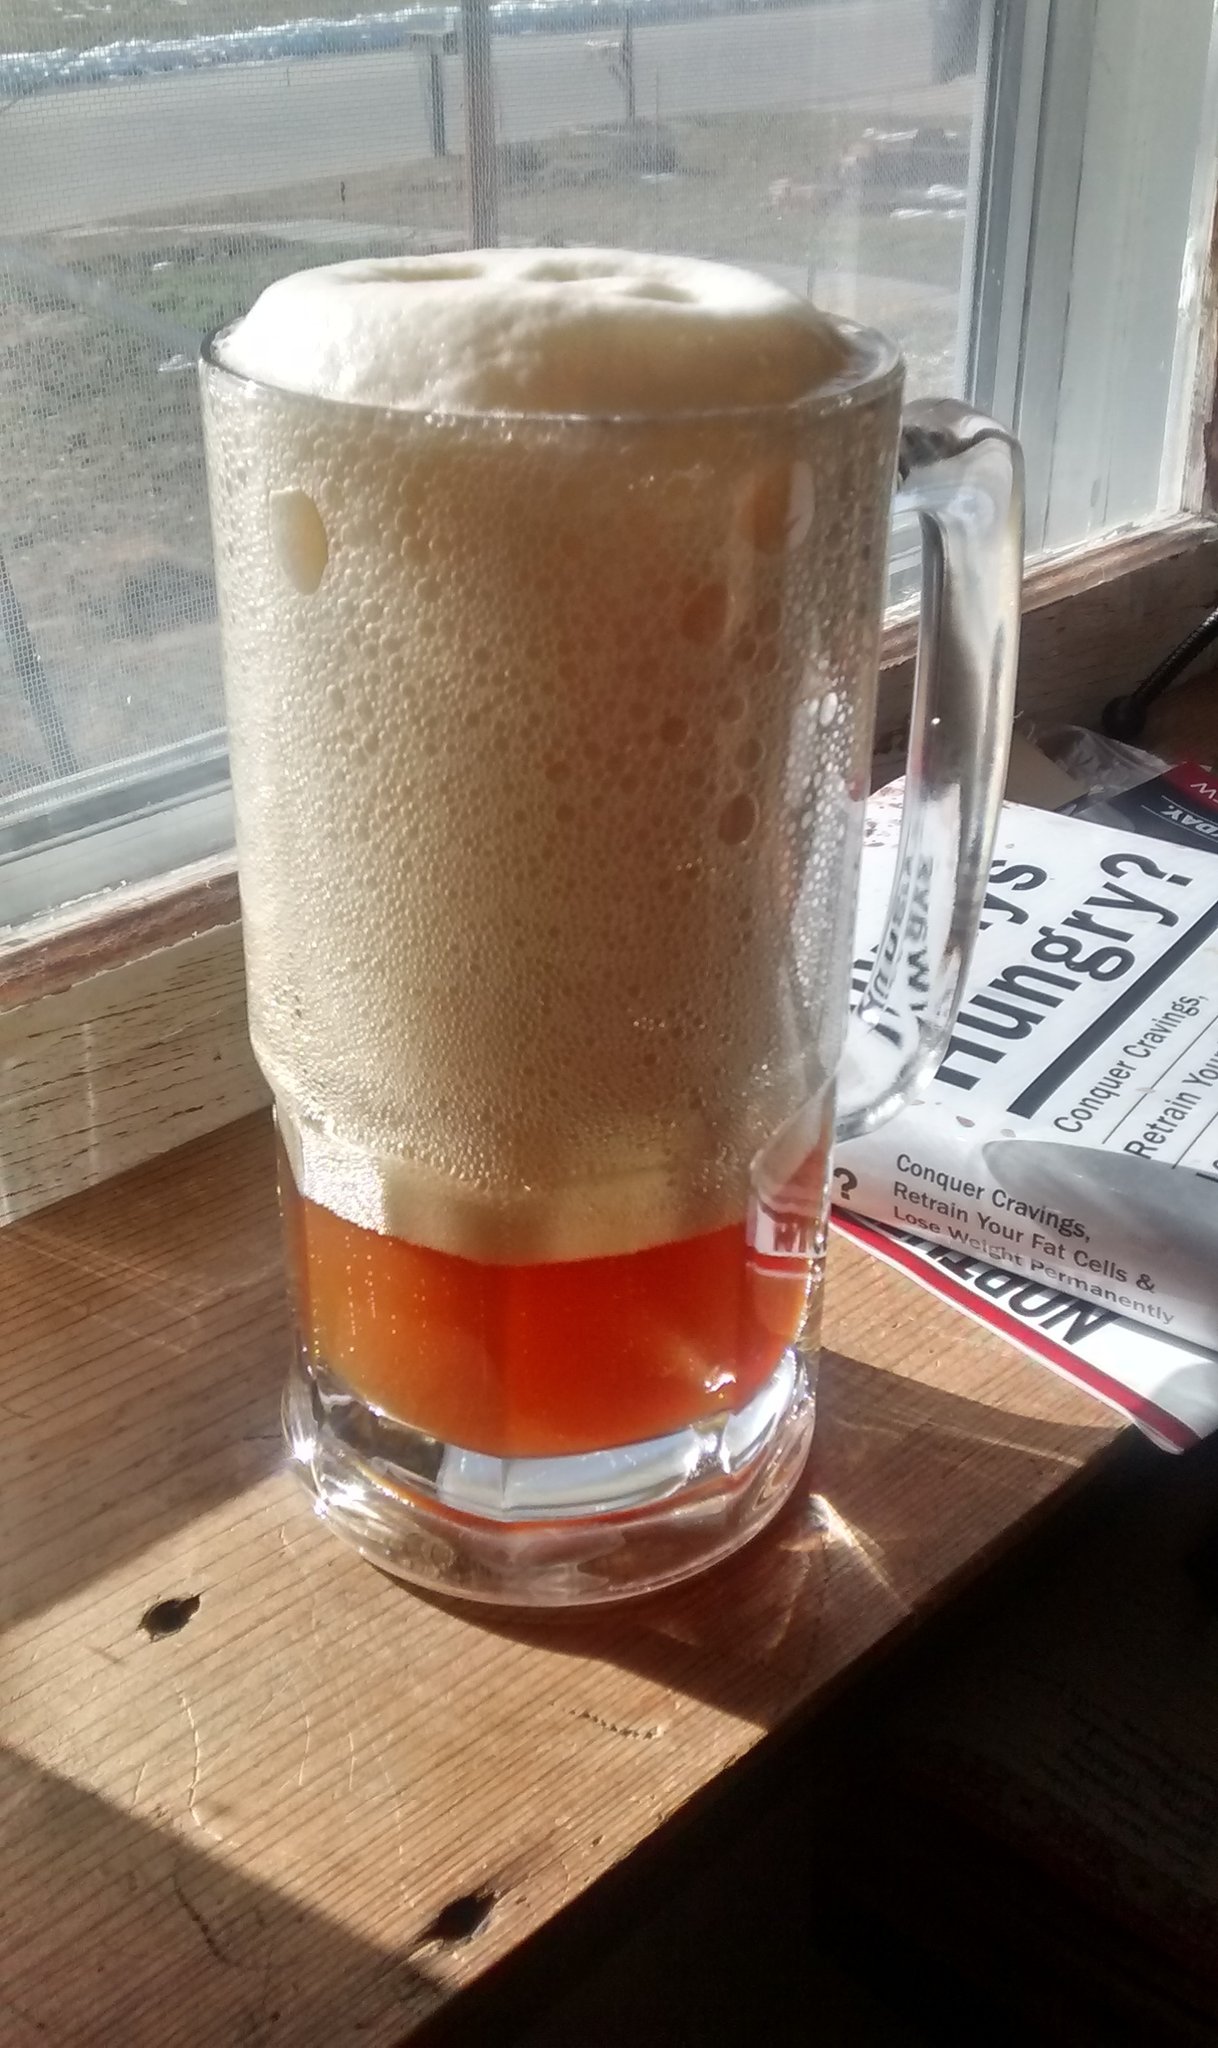 |
| Foamy beer maybe the result of such experiments. This 32 ounce beer mug is barely holding 12 ounces of beer & foam. I messed something up in the priming process. The batch was still drinkable out of small mixing bowls and large mugs. I celebrated when I drank that last bottle out of the foamy batch. |
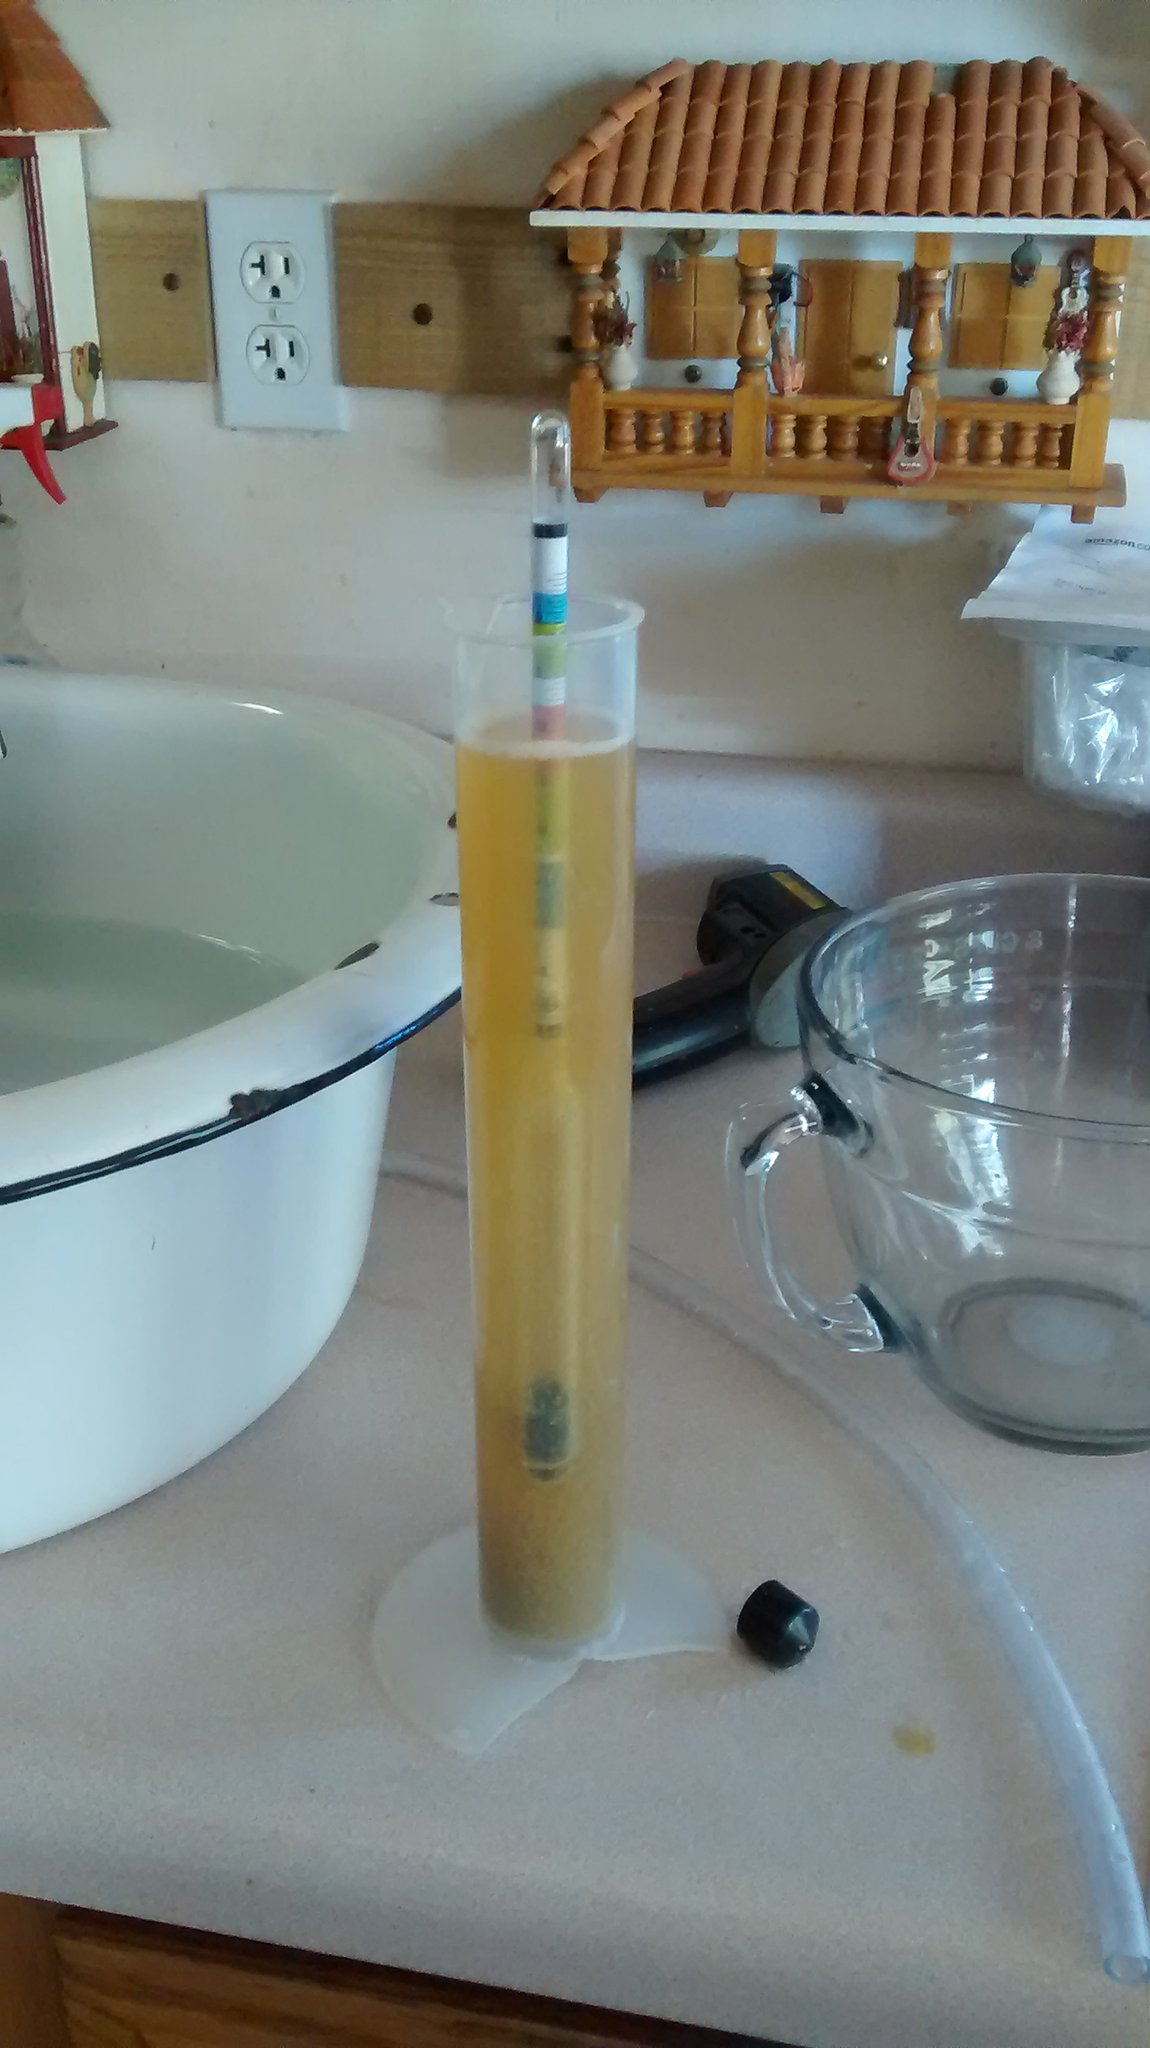 |
| Gravity readings are taken throughout all processes. If I remember, I take a gravity reading. One reading before I pitch the yeast and one prior to adding priming sugar. The difference between the two readings will allow me to calculate the beers ABV. If the gravity reading is off, I let the beer sit a week or so in the glass carboy for the yeast to do a little extra work. |
 |
| All bottled up, the beer resting at holding station on stove. |
My palate can easily differentiate types of beers. I still need more practice in identifying subtle flavors in beer.
 |
| Beer boxed up to rest a couple of weeks. Keep at about 65-70 degrees in the dark. Sunlight can create off flavors in the beer. Depending on the style of beer, most beer is ready in 2 weeks. Porters & IPAs benefit from extra time in the bottle. |
Homebrew by product - Spent Grain
 |
| Caution - Pictured is the by product of 2.5 gallons of Vanilla Porter. This spent grain is added to my compost pile. When you visit a local Brewery, look for the by product. How is your local Brewery getting rid of the spent grain? Do they have equipment to get rid of the by product? Are they sourcing the by product to animal husbandry operations? |
When I am enjoying a brew at a brewery, I look for the Spent Grain. Some breweries use a malt extract in their brews to boast the ABV level. Typically an all grain porter will have and ABV between 3.5% to 5.5%. Extract brewing, on brew day, is quicker than all grain brewing. Although a malt extract brew cost more than an all grain brew. The cost is for simplicity and a more reliable result. Think of this difference in buying a frozen pie crust and making a pie crust from scratch.
Wednesday, December 2, 2015
Winter 2015 Road Trip
Route for Winter Break 2015 Road Trip - Route finalized & traveled
The Path made on Google Maps. Use this Road Trip Route as a guide to hit some major National Parks on it's 100th Anniversary. Pick up a National Part Passbook to remind you of your visit, look below for all my Stamps from Great Basin. This would be a great trip to make a huge loop from Denver, CO. We started off in Nebraska and traveled towards Denver Metro making our way back to Nebraska through New Mexico, Oklahoma, and Kansas.
We travel in towards the Great Basin every other summer on our motorcycles. Those summers we don't make it to the Great Basin, I feel we have missed out.
 |
| Eisenhower Tunnel on I-70. |
Colorado National Monument - Take an exit at Grand Junction and jump back on Intestate 70 at Fruita. Look for the brown points of interest roadway signs, they are posted. When we were passing Colorado National Monument, snow was falling and building up on the ground. We weren't sure of the park service roads along Scenic Rim Rock Drive, so we decided to stay on I-70.
Once we enter Utah, we are traveling on Highway 50. Side-note: Utah's beer tops out ABV at 4.0%, unless you are at a brewery, plan accordingly. We drove right through Utah and stayed on Route 50 all the way through the state. This was our first time traveling this route in winter, it was a pleasant treat to see the red sandstone highlighted with snow.
Arches National Park - We missed this gem along our route. If you plan Arches and are leaving from Grand Junction, make sure you take the Colorado Riverway (HWY 128). This route takes some mileage off and is a maintained asphalt state highway. The highway exit is poorly marked, encouraging entrance from Crescent Junction. A Red Rock Wonderland
There are many places to eat and drink in Moab. We always enjoy eating at the local City Market Deli. Being a tourist town, eating at this City Market Deli might be compared to eating a buffet in Las Vegas. We pick up food to enjoy in Arches and any restaurant in Moab can't beat that view.
Green River, Utah. We really like the accommodations in Green River. Lots of hotels to choose from that will fit your price range. The people staying in Green River may avoid Moab for many of the same reasons I do. This is one of the few towns where we splurge for a motel. It is nice to get the days sweat off and relax in an air conditioned room.
Driving east on HWY 50, after Green River, the red sand stones of San Rafeal Swell come into view.
Visit Utah Slow down your driving pace and stop at one of the many overlooks. In summer time, you will find locals pedaling their wares that might be Made in China. In winter time, we found desolate overlooks that we had to ourselves.
 |
| San Rafeal Swell along HWY 50, Utah. |
 |
| In October 2015, a pickup lost control and ran into Mom's Cafe. |
 |
| This Gingerbread house was made to commemorate the event. A local told us all about it. |
GREAT BASIN NATIONAL PARK A Majestic Basin... - this is our destination! One year a park ranger asked us where we were heading. We said, "This is it, we are here!" I knew services


Continuing on Utah's HWY 130, we arrived at Cedar City. A nice town with shopping amenities. If you take this route, Grand Junction and Cedar City are the places to stock up on supplies. Otherwise, larger towns will have basic grocery stores or you can eat at Fuel Stations (junk food). We stocked up in Rifle, Co because here a Walmart is a lot easier than finding a Walmart in Grand Junction. You can see the Walmart from the interstate.
We decided at the I-Hop in Cedar City to make my mom's house that day. This is the type of decisions we make at 4:30 in the afternoon over a couple of plates of dessert breakfast. We started the day at Salina, Utah and ended the day in Winslow, Arizona. Don't make a mad dash like we did, we have traveled these roads many times and sometimes a 40 year old chooses to see her mom a day or so earlier than expected.
Zion National Park - Utah's First National Park We once lived about 100 miles away in Page, AZ. This was one of our favorite destinations for a day trip. Cedar Breaks Monument is not too far away.
Leaving Zion, you can travel towards Fredonia, AZ/Kanab, UT sister cities. Towards Lake Powell or the North Rim of Grand Canyon National Park, GRCA. My favorite side of the Grand Canyon because of a potential stop at Jacob's Lake. They have the best muffins, cookies, and shakes/malts. Don't fill yourself up because the restaurant at Cliff Dwellers has good food and a wide selection of bottle beer. Cliff Dwellers is located between Jacob's Lake and Marble Canyon at milepost 547.
 |
| On the Kaibab Plateau with moon light and Vermilion Cliffs off to the right. |
Once your arrive at Marble Canyon, you are on Navajo Reservation. We traveled towards HWY 89 to Flagstaff. We like to fuel up at Cameron's Speed's on the south side of town. ADOT has made some major improvements on HWY 89 at Cameron. I really liked see the improvements I saw on our roads.
A couple of my favorite places to stop in Flagstaff, AZ:
Bookman's Used Books
MartAnn's - Food on Route 66
On our way home, we pass by the Petrified Forest National Park. One year, we will see the park - located about 40 miles from where I grew up. I have not been to the park in a long time. I gotta get my Passport book stamped. Possibly during Summer 2016, but it will be hot and the sun tends to wash out desert.
We traveled home on I-40 towards Tucamacari. Listening to podcasts, we found out rather late, by the highway message boards entering Albuquerque, that eastbound I-40 was closed to Amarillo. We jumped off the Interstate at the Flying J exit and made our way towards Rio Rancho to I-25. By the time we passed Santa Fe, snow began covering the highway. I used our GPS to locate a motel in Las Vegas (the better Las Vegas), New Mexico. On my 5th answered phone call, a room was available at the Sunshine Motel on the main drag. All they required, on a snowy night, was a name. We took the last room because the desk clerk turned on the "no vacancy" light before we unlocked our room. I don't think I would ever get that kind of customer service at a nationally branded motel.
 |
| After our night at the Sunshine Motel, we walked to The Hillcrest to have breakfast. |
 |
| I always choose the Huevo Rancheros. |
headed towards home in Nebraska. With I-40 eastbound closed, we had lots of travelers speed by us.

 |
| Clayton is the major hub in NE New Mexico. |
 |
| We stopped at the truck plaza north of Garden City, KS and I picked up some Mexican Pastries. |
 |
| We were treated to someones hard work at decorating with lights in Holdredge, NE. |
 |
| They even played Holiday Music to accent the night. |
Monday, March 30, 2015
Making Mead
A few months ago I brewed up a batch of Mead. Erik purchased honey from a manufacturer of honey making equipment in Loup City, Nebraska. They make the steel components of the honey making process. The same equipment needed to brew Mead is the same stuff I use to brew beer. I did order yeast nutrient, acid blend, tannin, pectic enzyme (if using fruit) and Campden tablets. A friend of mine gave me pickle jars that my husband drilled a hole in the lid for me to insert the rubber gasket and airlock.
The yeast starter needs 12 hours to mature. This pic is prior to putting the yeast starter into the Mead. I was surprised when adding the acid blend and tannin that the Mead bubbled up like a kid blowing soap bubbles. What a mess.
 Here is picture after the yeast starter was added and the mess cleaned up. Look at how cloudy the Mead is.

My recipe is found in "True Brews" by Emma Christensen. I've also made the root beer from this book.

I've been switching the fermentation jar every few weeks. The mead can age for 6 months before bottling or bottled 4 weeks after the brew date. Brewed on January 24, 2015, I could be bottling this batch of Mead in July. I've been collecting pretty bottles for my batch of Mead.
 Every time I siphon the Mead into a new fermentation jar, I get a little taste.
 From the pictures, you can see how much the Mead is clearing up as it sits in the fermentation jar. My batch of Mead does have a wine flavor and texture. I'll be lucky to have a few 12 ounce bottles in July.
The yeast starter needs 12 hours to mature. This pic is prior to putting the yeast starter into the Mead. I was surprised when adding the acid blend and tannin that the Mead bubbled up like a kid blowing soap bubbles. What a mess.
My recipe is found in "True Brews" by Emma Christensen. I've also made the root beer from this book.
I've been switching the fermentation jar every few weeks. The mead can age for 6 months before bottling or bottled 4 weeks after the brew date. Brewed on January 24, 2015, I could be bottling this batch of Mead in July. I've been collecting pretty bottles for my batch of Mead.
Subscribe to:
Posts (Atom)